top of page
Honors Graduate From the University of New Hampshire
Plasma CNC Build
Over freshman year winter break, I designed and built a plasma CNC using 3D printed parts and salvaged material such as parts from a weight bench for the frame, bike parts for the chain drive, and a fire escape for the tabletop.
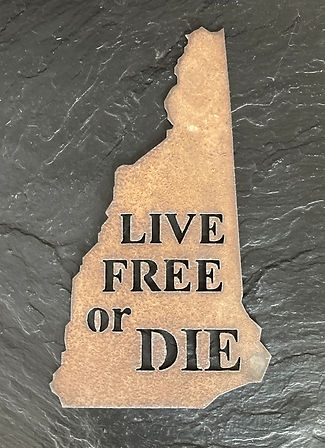
New Hampshire State Motto


Most plasma CNCs use a 3rd axis and automated torch height controller that measures the voltage between the torch electrode and the plate to keep a constant torch height as the material warps. I designed a mechanical torch height controller saving over $400 in hardware expenses. Here you can see its ability to bounce and dip on and off thick plates.

Printed parts for the x axis seen in the video above inside the channel iron
Printed adapter so the stepper motors can interface with the bike sprockets


Machine Resorations and Modifications


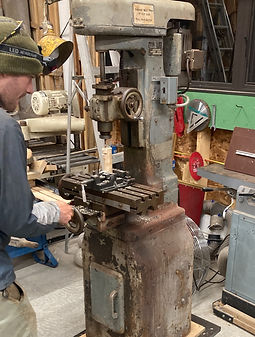
To expand shop capabilities, I restored a WWII era Linley Jig Borer. Restoration included complete disassembly, rust and lead paint removal, rewiring, bearing replacement, regreasing, and fixing broken parts. This is now an integral tool in the shop for light milling, precision boring, and improving repeatability via strategic fixturing.
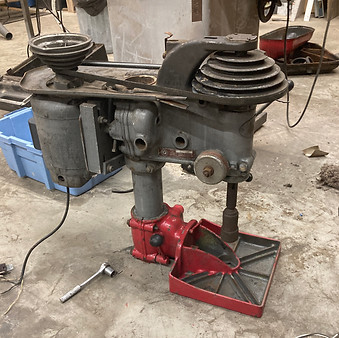
A similar restoration was performed on an Atlas 10D machinist lathe to aid in rapid prototyping. This restoration included fabrication of several broken components such as the lead screw support. The .5 hp motor that came with the lathe was constantly tripping the breaker so I replaced it with a 220 volt 2 hp motor salvaged from a table saw. I wired the motor with a double-pull double-throw switch to allow the motor to be reversed for single-point thread cutting.
.jpg)
.jpg)
After having used the lathe and mill for almost a year, I decided to install a digital read out to avoid relying on feel when determine when lead screw backlash had been picked up. The eBay DRO kit I picked up came with 3 scales, so I installed the x and y axis scales onto the x and y axis on the mill and I used the z axis to measure axial movement on the lathe.


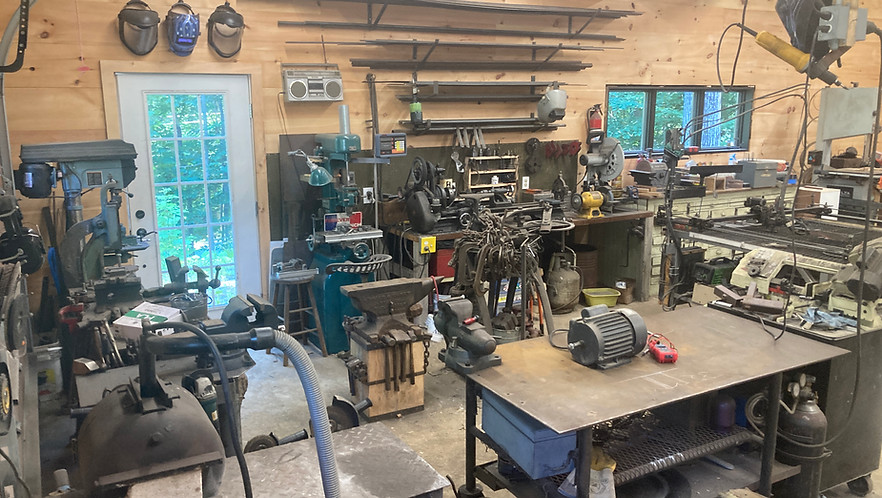
Workshop Construction
Over the summer following high school graduation, my brother and I designed and built a 1,270 square foot two-story workshop from the ground up. In addition to general carpentry, this project required concrete prep, excavator operation, and electrical installation amongst other things.


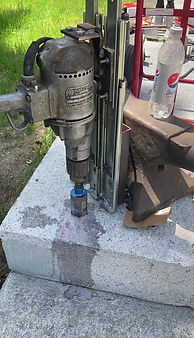
Diamond Coring Rigs
Boring granite for hand rail installs is an extremely tedious process that takes most of a day for just a single railing. While you can get away with using an angle grinder, coring rigs are the best tool for abrasive coring. However, coring rigs come with a heavy price tag and require you to anchor them to the granite with expansion bolts. I would prefer not to leave behind beauty marks during installs. Thus, I made these two setups that rely on their weight to remain fixed in place.

Ribbon Burner Forge

For many years, I worked with commercially available atmospheric propane forges that use venturi burners to draw in oxygen. Since these have poor fuel economy and are limited in heating capabilities, I built a forced air ribbon burner forge. Instead of using the venturi effect to pull in oxygen, air is forced into the mixing tube and then turbulence is introduced before leaving the burner and combusting. The turbulence ensures complete oxidation and combustion of the propane allowing for better fuel economy and even heating.
bottom of page